Pages

Thursday 7 November 2013

Sew and Stitch Collection

I recently subscribed to the new magazine, Sew and Stitch. My mum had the first issue lying around when I went to visit so I had a snoop!

I love how bright and vibrant it is and loved the little projects (bunting, dolls, bags etc.) so I thought I would hop on the sewing band wagon!

I have to be honest, I have not been as productive as I had hoped. I have 3 issues now but have only completed one of the quilt squares! It actually took much longer than I expected, and I'm determined not to use my sewing machine for any of them!

Anyways, here is my first square - Postcard Square


The next square is a bunting one and the 3rd is a stripy one made from sewing thin strips of ribbon across a square.

The magazine is actually up to issue 8 now but I seem to get them a bit slower than I would have if I bought them in the shops but at least this way I have more time to keep up with the squares (which seems to be a good thing!!)

I'll be back with square number 2 soon!!

Happy Crafting

xx

Christmas for Chickens!

My grandparents got 6 chickens about a year ago now so I thought it would be cool to make them a sign for their chicken shed.

I had a spare plaque left over from an order from Daisy Moon Designs which I painted an off white colour using a tester pot from The Range.

I found some super cute wooden letters on Ebay which I used to create the lettering. The letters were already painted, which saved me the time to paint each one. I tried to use as many different colours but ended up having to have a few letters the same.

Here is the (almost) finished item!


To finish it off I am going to attach some hessian string (from Penrith Crafts) to the back of my plaque, with my staple gun. Ideally I would have drilled some holes in the top corners but I do not have a drill!

I have loads more of these colourful letters left so will post whenever I use them!

Happy Crafting,

xx

Friday 1 November 2013

Up Up and Away!

Two of my amazing friends are expecting their first child this month! They asked me to make them a mobile for the nursery in their new house so I got my think cap on (with the help of Google and Pinterest) and put together a few ideas.

It was decided that a hot air balloon mobile would be cool and as they are painting the room green I went for a mixture of different green shaded felt to make it.

I used a pattern from Pretty Prudent but decided to keep them much more simple than the lavish hot air balloons that she made.


First of all I made 3 balloons, one of each size. Originally I was going to make 2 small, 2 medium and 1 large but after making them I realised that 5 balloons would be too busy.


I make a little sun for the top of the mobile using yellow and orange felt!


I also added 2 little white felt clouds!


To finish off the balloons I added a basket under each one. I used bottle tops covered in felt to make sure they held their shape and also provided some weight to help the mobile keep its shape.


I gave it to The H's at their baby shower and they loved it! I can't wait to see it in their nursery!

Baby H is due in about 2 weeks so lets start the count down!!!

Happy Crafting! xx

Thursday 31 October 2013

Introducing Oliver!

I thought it wouldn't be right not to give Oliver a shout out whilst I'm on here as he's fast asleep on the sofa next to me!

In June 2013 we met Oliver....
.....he was 4 weeks old!
4 weeks later he came home....

.....3 days later we moved 300 miles North!

He loves exploring,


going for walks in the Lakes
and making new friends at Doggy Day Care!

Last month he enjoyed his first holiday in Devon where he met Ozzy

 
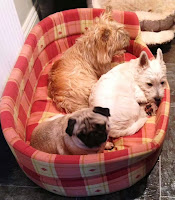
and each Wednesday he spends the day with Olive and Tilly.

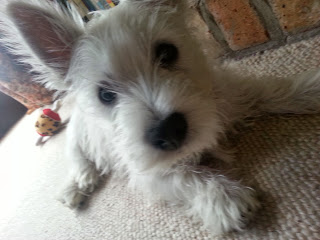
 Oliver is now almost 6 months old but is as cute as EVER!!
WOOF!

Gifts....just because

Sometimes I think it's nice to give gifts, not just for birthdays or other occasions, but just because....

I guess this one isn't a "just because" gift but it was something I wanted to make instead of sending a card. My old taekwondo instructor from PUMA taekwondo recently passed hist 5th Degree Black belt grading and I really wanted to make him something special. With a little help from paint I designed this cross stitch pattern myself from a picture I found on Google. I found a thick black frame from The Range which complimented the simple design really well.


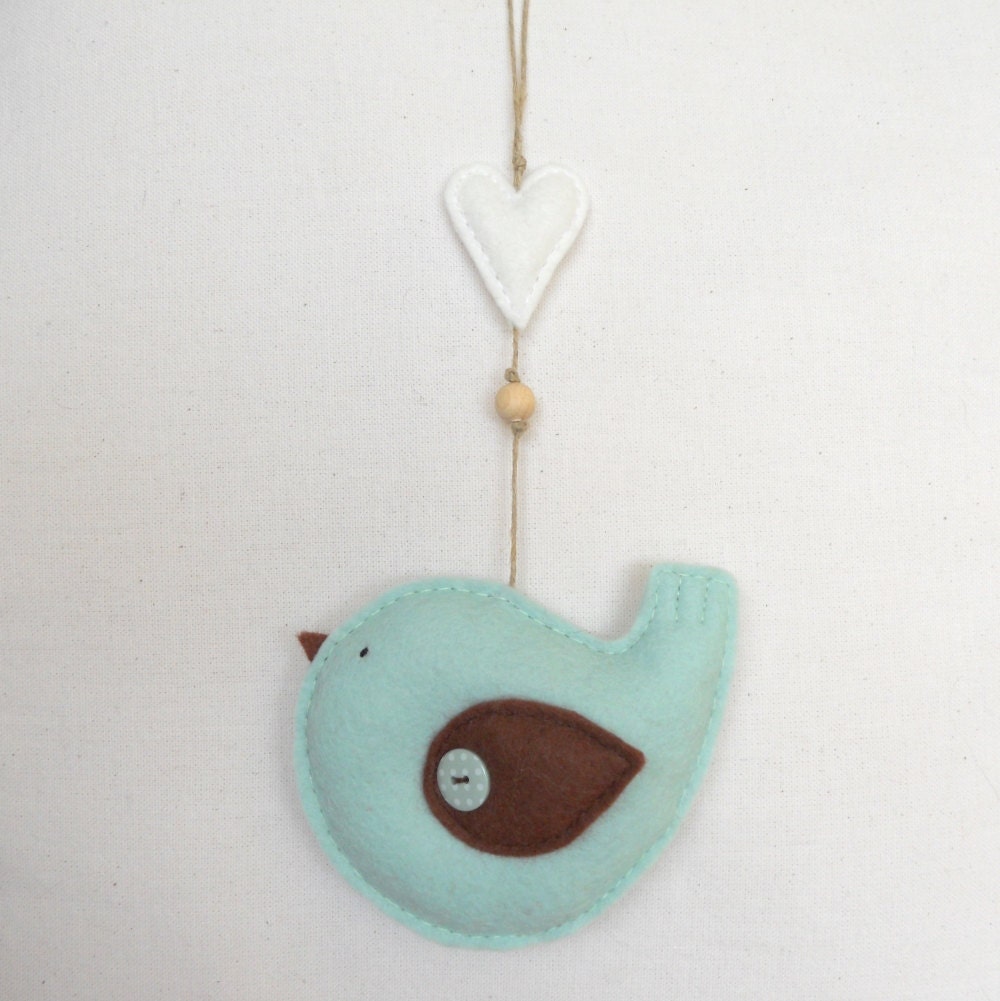
This little birdy was sent to my friends Mrs G as she's had a pretty tough time recently and has also been feeling pretty under the weather too. I found a beautiful bird on etsy and I really wanted to make something similar. My stitching wasn't as neat as I would have liked but the overall design worked pretty well. I finished it off with a wooden heart button on the string.


Maybe you could send something "just because" this week...put a smile on someones face and make their day!

Happy crafting,

xxx

Fun with Frames

Since moving into our new house (which is 3x bigger than our old flat) we have found that we have a lot more wall space....which is currently blank!

I bought some beach hut patchwork squares a while ago but had yet to come up with a viable use for them (apparently before I buy things I am meant to have a use for them....hummm). So my crafting brain got to work and ta daaa!!!!


As the patchwork squares were....well...square. I had to improvise a bit to make them fit the frames (from the Range). Using some blue striped ribbon and some light blue card I made some borders to fill the empty space.

The next job was to find somewhere to put them, and we found the perfect place. Our bedroom is beach themed and the pictures look fantastic above our new headboard!


I'll be back very soon with some more of my summer craft projects!

Happy crafting

xx


Cards Galore!

I'm sorry that I've not blogged recently.....well since August. It's been a busy few months with a very big move, a new puppy and a very slow and frustrating job search!

Anyways, since August I have made a bunch of cards for various reasons.....


All of these cards were made using a strip/square of craft paper which was decorated with happy birthday writing in different fonts. I then used a needle and made holes in the card (I put a news paper behind the card to make it easier to push the needle through). Then to finish it off I used regular embroidery thread and the holes to sew the pattern onto the card.

The great thing about these cards is that they are suitable for men....I HATE trying to find cards for men!!!

There are loads of different ways to sew details onto cards so I'm going to make up some Christmas ones nearer the time....watch this space!

Happy crafting,

xx

Tuesday 13 August 2013

Elastic Bands and Little Tacs!!

The summer is here!!! Well apparently....the rain clouds seem to think otherwise! I moved up North about 3 weeks ago and it has rained EVERY day!!!


Due to my move I unfortunately had to leave my amazing class and say goodbye to the best school IN THE WORLD!!!

I wanted to make an extra special leaving present for them so had a hunt on the internet for some crafty inspiration. During my hunt I came across this brilliant string and nail art from:


I wondered if I could come up with something similar that was personal to the school. I decided to do their logo. So off I went to my local scrap store and B&Q and came home with a lovely piece of wood, some tacs and 2 boxes of multicoloured elastic bands.

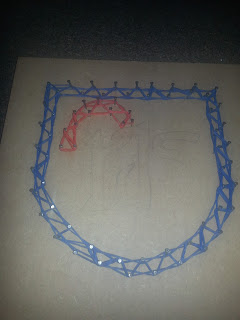
First I printed off the logo and traced around the detail ready for the tacs. I hammered in a tac every inch or so around the outline ready for the elastic bands. My thumbs did not enjoy this bit!!

I build up the image with different colours for different sections but kept it simple so that it wouldn't look too  busy.


Once I had finished the logo I realised there was a huge blank bit of wood at the bottom and I had no way of cutting it of!! Uh Oh!!

Don't fret....my artistic licence came into play and I decided to add the school moto underneath! Phew!!


Well here it is, the finished item. I was very chuffed with how well it come out...

....and best of all.....they loved it!!!


Saturday 11 May 2013

Homemade Birthday

I set myself the challenge of making a 100% homemade birthday gift for one of my wonderful friends. 

I started with some inspiration from pinterest and put together this fun button balloon card. I used blue striped paper to make some clouds and cream embroidery thread for the balloon string.

I am really happy with how this card came out. My only concern was that the buttons made it a little bit unstable so next time I will use thicker card or add an insert to make it more sturdy.


For the gift I thought I would experiment with some shrinkles to make a necklace. I bought some white shrinkles paper from hobby craft and cut out 3 triangles. The instructions said that it would shrink to 7 times the size so I made the triangles with sides of 7cm. I used a regular hole punch to make a hole in the 2 top corners. 

I coloured in the triangles using red and blue fine liners. Once the shapes had been shrunk in the oven I found that the colours smudged so I coated the shapes using PVA glue to seal the colours and stop them transferring to clothing.


I added a silver chain and 2 links between each triangle. To join the chain together I used a small silver clasp.

I wanted to present the necklace is a fun way so made a box from red and blue striped card and used a piece of star card to make an inner. 


To finish it all off I added a blue striped piece of ribbon and a matching tag!

I was so excited to give her the present and was really happy that she liked them!!

I'll be back soon with some more cards that I have made.

Happy Crafting! x

Thursday 11 April 2013

The day I lost my Washi Tape virginity!

So! I heard all about this washi tape stuff and thought I must give this a go! I wasn't really sure what it was but I ordered some rolls from amazon and off I went!!

My other half is off to a wedding next Saturday and their theme is bunting. There were some cardboard bunting decorations left over from his Mum's wedding the other week so I thought I would put my washi tape to good use and jazz them up a bit for a gift.


There are about 16 triangles altogether held in a row by some white ribbon. I tried to do a different design on all of them and I think I managed it!!

I was having a great time so thought I would attempt a washi tape card. I printed the text onto some cream card and then decorated it with the same washi tape that I used for the bunting. It's funny how the most simple designs usually turn out the most effective.


The card isn't very thick so I will have to put a paper insert into it to make it more sturdy.

Another successful day crafting I think!!

My next job is to try and make a chefs hat or something cooking related for a budding baker's birthday (try saying that quickly!!)

Have a great day,

Happy crafting xx

Monday 8 April 2013

Ding dong the bells are gonna chime...

My boyfriends Mum got married at the weekend and I wanted to make her some homemade gifts rather than getting her a shop bought present.

I decided to make them a wedding plaque using some wooden die cuts from Daisy Moon Designs. I used pastel colours to paint the different pieces and finished it off with some beautiful "All my love" ribbon from John Lewis to make the handle rather than using string that I have used before.


I wanted to do something a bit different for the card and found some inspiration from Paper Paws on Pinterest and adapted a design which included a wedding dress made out of a doily.


I used travel scrabble tiles to add a finishing touch to the card...which lead to this comment from my boyfriend "I-D-O....what's I-D-O"....wait a few minutes...."oh, I Do!!!" (bit worried when my Dad made the same comment as well!!).

It was a beautiful day, the sun was shining (even though it was freezing) and the atmosphere was wonderful!

Best wishes to Mr and Mrs Gilbert!!!

Happy Crafting xxx